Falconry is a lifestyle and should not be entered lightly, however, once you enter this amazing sport, you will never look back.

This information is current as of 1/2016. Laws change so be sure to check with your state’s requirements.
Acquiring a falconry license in the US requires an aspiring falconer to:
• Pass a written test
• Acquire a state permit
• Acquire a hunting license
• Serve two years as an apprentice under a licensed falconer
Below are the steps to become a falconer
 Falconry is not to be entered lightly. This is not just an exotic pet. If you want a pet, buy a parakeet. This is a sport that requires a life style change. You can’t ask your neighbor to feed her while you go on a two week vacation. You give up your entire winter’s worth of weekends to fly your bird. If your not willing to hunt with your bird and actually catch game, then this sport is not for you.
I’m going to give you the steps you need to go through to become a falconer. Further down, I’ll go through each step in more detail. There are a lot of hoops you have to jump through, but each step isn’t very difficult.
1. Contact your local Fish & Game office and ask for their falconry package. While you have them on the line, ask them when they give the test and how much it costs. Also, ask them if they have any contacts for local clubs in your area or a state wide falconry club.
2. Obtain your study guides
3. Study
4. Take the test
5. Get a sponsor
6. Build your mews, make your equipment and have your sponsor sign off on them
7. Send in your completed paperwork
8. Wait for your license
9. Wait some more
10. Trap your bird
11. Train your bird
12. Go Hunting
You must also have a hunting license. This requires you take a gun and safety class in your area. Contact your local sporting goods store for a class near you.
I’m not going to get into the actual trapping and training of your bird. These are things that your sponsor will teach you. You are an Apprentice for two years and can only have one bird. You then become a General Falconer for 5 years and can have 2 birds. After that you become a Master Falconer and can have 3 birds.
It’s very important that you have a good raptor vet lined up. This vet must know about raptors. When you trap your bird, it’s very important to get them to the vet as soon as possible. It’s imperative that the bird is in good health before you start your training. It’s also important to have their number handy for any mishaps in the field.
Now let’s go over each step one at a time.
1. Contact your local Fish & Game office
Every state is different and you need to find out what is required for your state. This is the best place to get started. They will send you the information you need for your state and hopefully have a club contact for you. Try Googling falconry for your state.
2. Obtain your study guides.
 This is tricky; you don’t even know what to study so how do you know what to buy? Again each state is different, but for the most part the general questions they will ask are about the same. So what do you need to study? The California Hawking Club has one of the best study guides around. Many other states have taken this guide and with a few changes, made it suitable for their state. Even though the questions are geared for California, the information in it is invaluable. If you study this book and can answer all the questions in it, you should have no problem passing the test.
3. Study
 It will seem a bit overwhelming at first. You will see terms that are unfamiliar to you. There is a health section that will have you scratching your head. But don’t despair. Take each section one at a time and just keep studying. The information you learn here really isn’t what makes a falconer. Just study the guide with passing the test in mind. Your sponsor will teach you how to become a falconer. But, keep the guide it’s great reference material.
Hunting License
Along with a State falconry permit, you will need a hunting license. This is a good time to start the classes. Call a local gun shop, or hunting store and ask where the nearest gun and safety class is to you. But, you say, I won’t be shooting a gun. Why do I need to take a gun and safety class? Well, because falconry is the smallest group of hunters in the US, the government doesn’t quite know where to put us, so they group us in with all the gun hunters. Therefore, you have to take a gun and safety class in order to get your hunting license.
4. Take the Falconry Test
Usually there are 100 questions and you must get at least 80% to pass. It’s important that you are ready for it because if you don’t pass, you can’t take it again for another 3 months and that can mean the difference between becoming a falconer this season or having to wait until next season. So don’t rush into it . Be ready. The test really isn’t very hard and they give you 2 hours to complete it. But if you know it well it should only take you 20-30 minutes to complete.
5. Get a sponsor
 This can actually be the hardest part of becoming a falconer. There was a time that you had to get a sponsor first, and some states still may require that. But it makes more sense to take the test before you even start looking. Why? If you approach a potential sponsor, the first thing they are going to tell you is “Take the test and then we can talk”. By approaching a potential sponsor and letting them know you already took the test and passed and have a hunting license, they will see that you are serious. So how do you find a sponsor? That’s the hard part; you need to contact the club in your state, or a falconer in your area. Not all falconers are willing to be a sponsor and not all sponsors are good falconers. You need to find one that you get along with and are willing to spend the next 2 years learning from. The sponsor’s job is to teach you how to make your equipment, help you build your mews, help you trap your bird, teach you how to train her and how to get her taking game. Your job as an apprentice is to follow your sponsors instructions.
Here are some questions you might want to ask the potential sponsor:
1. What do you require of me during the next two years?
2. Do you allow me to keep my bird as long as I want? Or do you want me to release my bird at the end of the first season and trap another next season?
3. Do you have any thoughts about me using my bird for education as well as hunting? (Some sponsors will not allow you to do any education with your bird. So if that’s something you want to do, you need to know up front if your sponsor has a problem with it.)
4. What are you looking for at the end of the two years that will allow me to become a General Falconer?
5. What books do you recommend that I read?
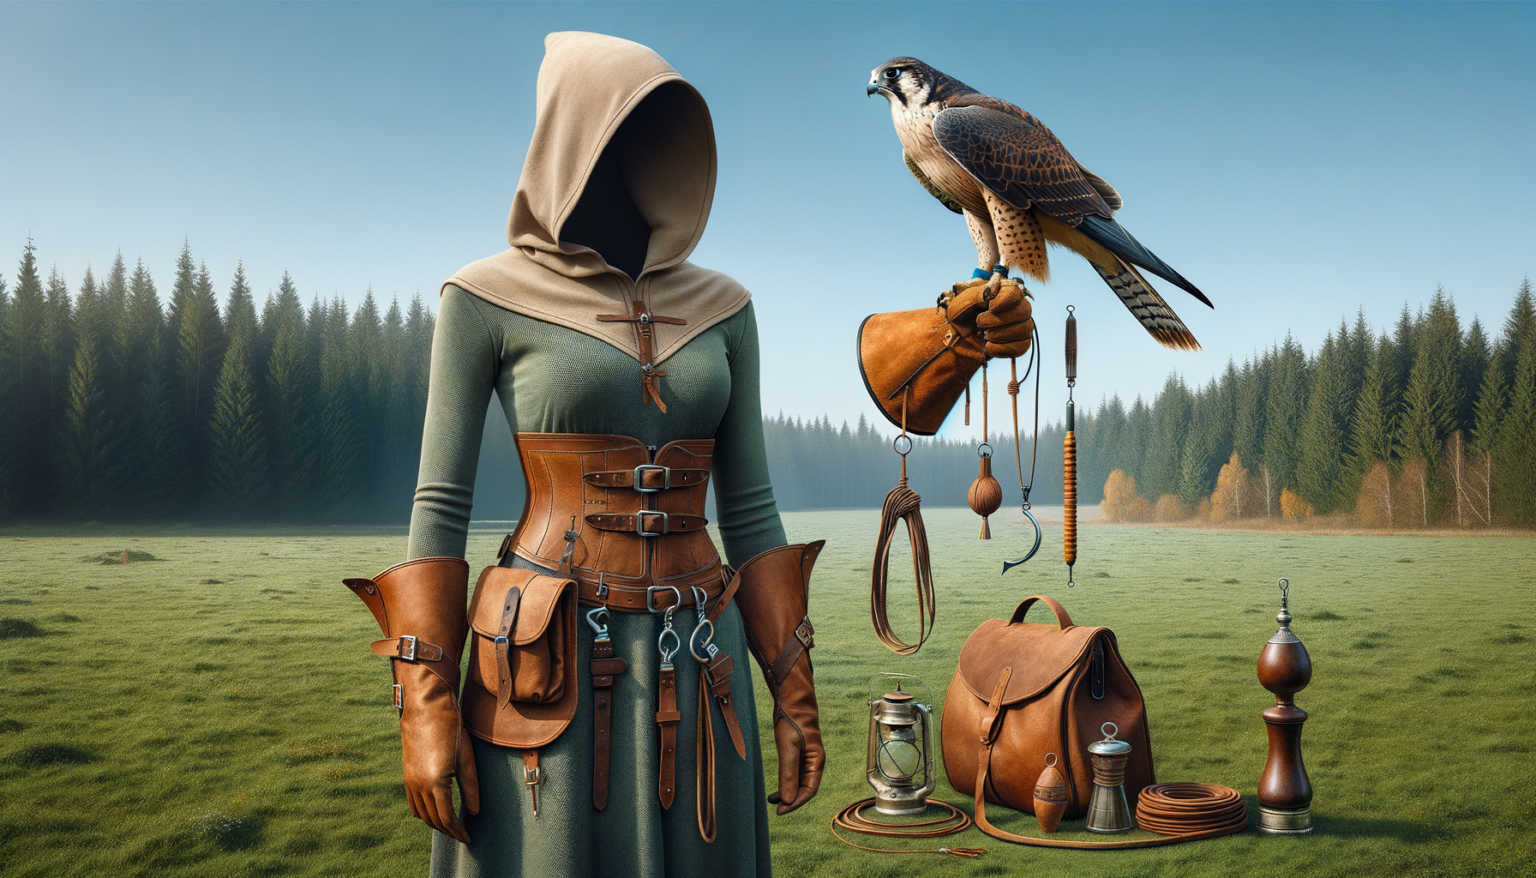
6. Build your Equipment and gather your gear.
This is where the most money goes. Building your mews can be anywhere from $500 up depending on how elaborate you get. Your sponsor should help you with at least the design of the mews. They can be a simple single chamber, a single chamber with an equipment room attached, a single chamber with an equipment room and a weathering yard attached.
It all depends on you, the amount of space you have and your budget. What ever design you decide on the minimum size for a red-tail single chamber is 8′ x 8′ x 8′. You really don’t need anything larger than that. Never use chain link as a mews.